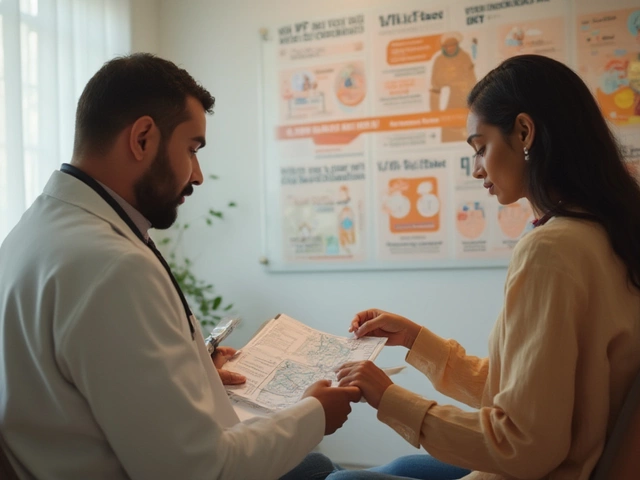
IVF Timeline: A Simple Guide to Every Step
Thinking about IVF can feel overwhelming. The good news is that most clinics follow a predictable timeline. Knowing what comes next helps you stay calm and plan ahead.
Phase 1 – Preparation (Weeks 1‑4)
First, your doctor will run blood tests, an ultrasound, and a health check. These results tell the clinic which medications you need. Most patients start taking hormone pills or injections to sync the ovaries with the menstrual cycle. Expect daily reminders, a few clinic visits for blood draws, and a short period of mild side effects like bloating.
During this stage, keep a notebook of any symptoms. It’s easier for your doctor to adjust doses when they see a clear record.
Phase 2 – Stimulation (Weeks 2‑3)
Once the cycle is set, you’ll begin high‑dose hormones to grow multiple follicles. This part usually lasts 10‑14 days. You’ll monitor growth with ultrasound scans every few days. The clinic will tell you when to take the trigger shot that matures the eggs.
Side effects can include mood swings, slight cramping, or a feeling of fullness. Stay hydrated and get plenty of rest; many patients find short walks helpful.
Phase 3 – Egg Retrieval and Fertilization (Day 0‑1)
About 36 hours after the trigger, you’ll have a minor procedure to collect the eggs. It’s done under light anesthesia, so you’ll feel little pain. The lab then mixes the eggs with sperm to create embryos.
If you’re using donor eggs or sperm, the timing may shift slightly, but the overall flow stays the same.
Phase 4 – Embryo Culture and Transfer (Days 3‑5)
Embryos grow in the lab for a few days. Most clinics transfer a single blastocyst on day 5 to reduce the risk of multiple pregnancies. The transfer itself feels like a quick pelvic exam – no anesthesia needed.
After the transfer, you’ll start progesterone support, usually as a daily injection or vaginal gel. This helps the lining stay thick for implantation.
Phase 5 – Two‑Week Wait (Weeks 6‑8)
The two‑week wait is the hardest part. You’ll have a blood test around day 12‑14 post‑transfer to check hCG levels. Some clinics offer an early ultrasound at around week 5 to confirm a heartbeat.
Keep doing light activities, avoid smoking, and stay hydrated. Many patients find meditation or short walks reduce anxiety.
Phase 6 – Pregnancy Confirmation or Next Steps (Week 9+)
If the test is positive, you’ll start regular prenatal care. If not, discuss with your doctor whether to try a frozen‑embryo transfer, adjust medication, or explore other options.
Remember, each IVF journey is unique. Timelines can stretch a bit longer if you need extra monitoring or if you’re using a frozen cycle.
Having a clear IVF timeline lets you plan work, travel, and family responsibilities. Write down each appointment, set reminders, and involve your partner in the schedule. The more organized you are, the smoother the experience feels.
Ready to start? Talk to your fertility specialist about the exact timeline for your case and ask any questions you have. Knowing what’s ahead makes the process less scary and more manageable.

How Long Does IVF Take? A Clear Guide to the IVF Timeline
Wondering how long IVF actually takes? This article breaks down the IVF process step-by-step, explaining how much time each stage usually takes and what to expect along the way. Get straightforward details on how long IVF appointments, hormone shots, egg retrieval, and embryo transfer can last. We’ll share tips for staying prepared during the wait and answer what happens if you need more than one round. By the end, you’ll know exactly how to plan your schedule around an IVF cycle.


Understanding the Root of 90% of All Cancers
Feb, 27 2025